Create a matrix from a .csv file
-
@mrjj https://paste.ofcode.org/XLhSxBmaWcaKj2L9CapQ3s
sorry my bad
i have also to declare the function iLoadData in the .h file, right? in the private, protected or in the public slot?
-
@AliM93
ah better :)
yes also add to public section.
we might call it from outside so its public. -
@AliM93
nope its not cmakeit seems you forgot the ending of the DataPoint class ?
the }; part ?struct DataPoint { int x; int y; bool value; QColor DrawColor; // we change this from selected / not selected. bool isSelected; // we set this when we click on it. }; -
@AliM93 said in Create a matrix from a .csv file:
void::Matrixwidget LoadData?
yes but mind the use of ::
its only use outside class so in .h its justvoid LoadData();
-
Ok, small fix.
You data has max x,y as
x: 14 y: 21
so our array is one to small as we start in 0 (zero)
so changeconst int max_x = 14;
const int max_y = 21;to
const int max_x = 15;
const int max_y = 22;as else we drop some :)
-
Ok, small fix.
You data has max x,y as
x: 14 y: 21
so our array is one to small as we start in 0 (zero)
so changeconst int max_x = 14;
const int max_y = 21;to
const int max_x = 15;
const int max_y = 22;as else we drop some :)
-
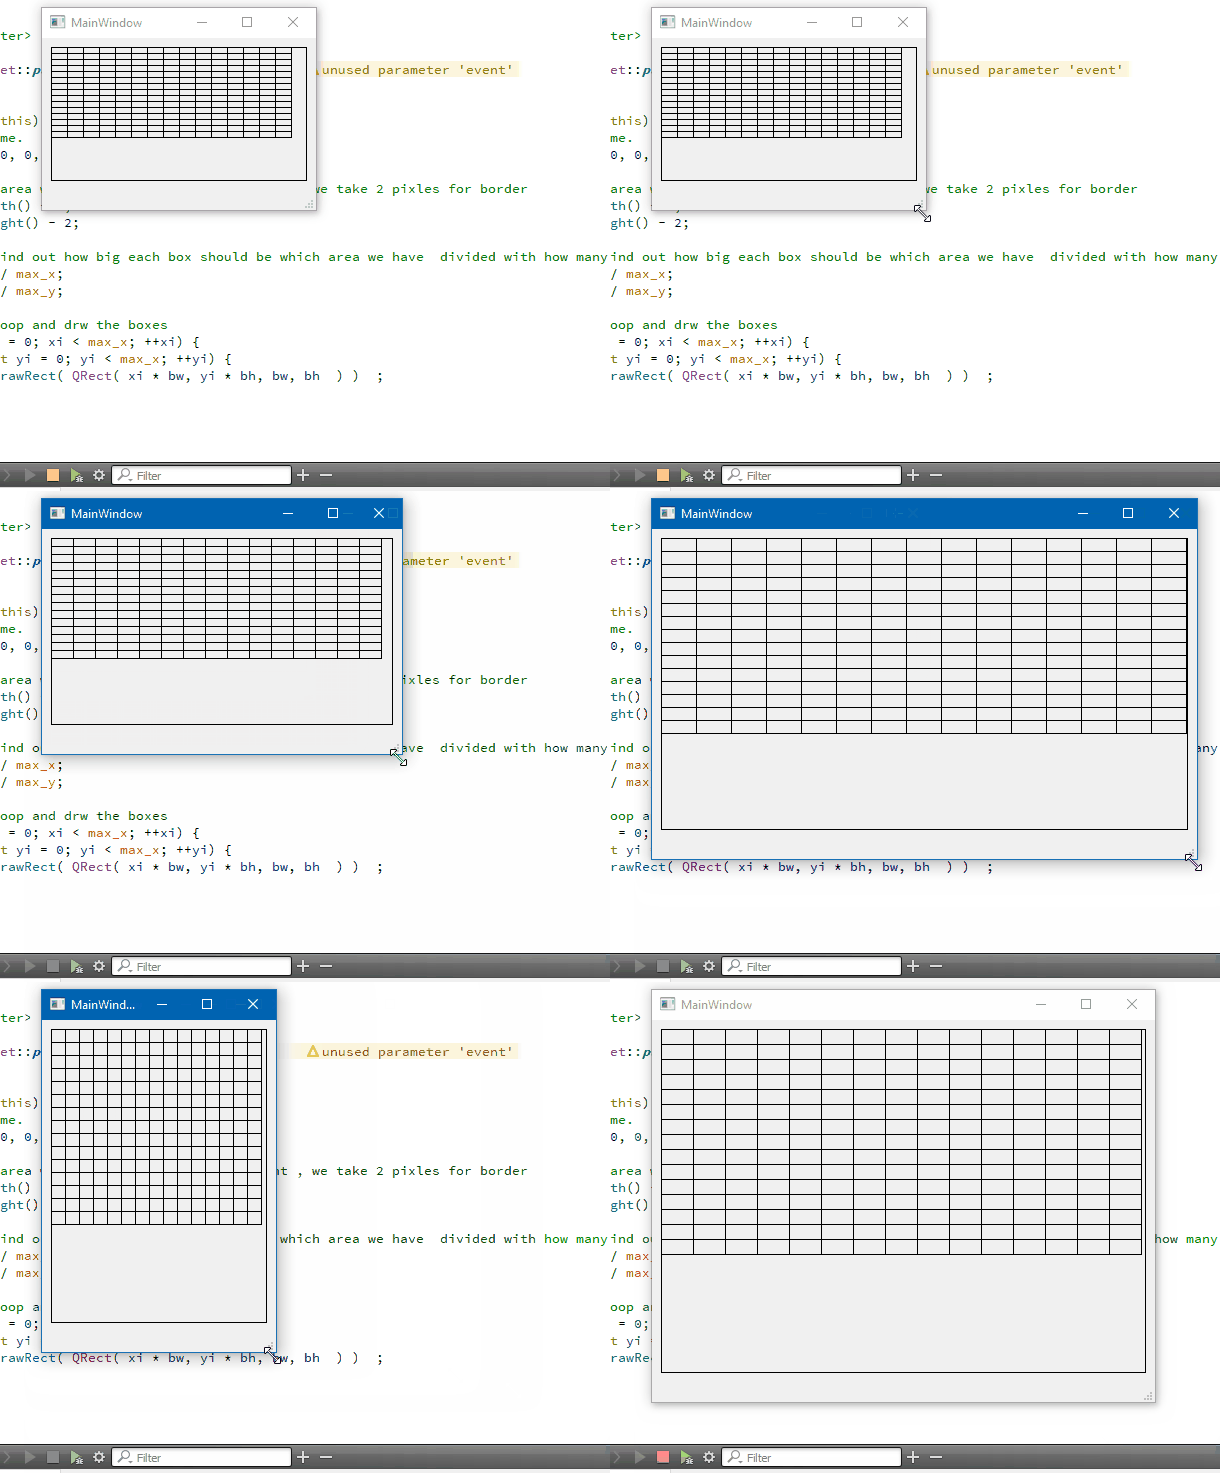
Ok next step is to add some paint code.
So in .cpp
void MatrixWidget::paintEvent(QPaintEvent *event)
{

    QPainter p(this);
    // draw frame.
    p.drawRect(0, 0, width() - 1, height() - 1);

    // size of area we have. w = width , h = height , we take 2 pixles for border
    int w = width() - 2;
    int h = height() - 2;

    // now we find out how big each box should be which area we have  divided with how many on x and y
    int bw = w / max_x;
    int bh = h / max_y;

    // now we loop and drw the boxes
    for (int xi = 0; xi < max_x; ++xi) {
        for (int yi = 0; yi < max_x; ++yi) {
            p.drawRect( QRect( xi * bw, yi * bh, bw, bh  ) )  ;
        }
    }

}
and then next we will add to some UI so we can see what it start working :)
Teaser.

-
@mrjj thanks also for comments, so i can better follow the flow. but sorry i have to include QPainter somewhere? yes solved!
@AliM93
Yep, need includes.I hope comments are enough to understand it.
its just calculating how big each box should when we have max_x and max_y and some area ( the widgets area)Shall we try to add it and UI and see something?
I want to show you a Creator feature called Promotion that makes it easy to use such custom control.(note i bumped your upvotes so you should be able to post faster now)
-
@mrjj sure! the only thing is, as you can image from my images, i'm working into a bigger file, and when i run the app i have also a main_window.ui. so i have to link all the things to that. is it possilbe, isn'it it?
-
@AliM93
yes, i though we add it to your main ui to see its working ?Its same project still, correct ?
-
Yes you can add to a dialog the same way as to any other UI :)
To use your custom widget.
Go to your main window ui file and open it
place a normal Qwidget on the form
RIGHt click it

and choose promote toThen in the new window , fillin the class name

nake SURE to spell it as shown in file!
MatrixWidget for "class name"
Case matters!now press ADD
then Press Promote.When you run the app, our custom widget will be shown instead of the plain one we added.

